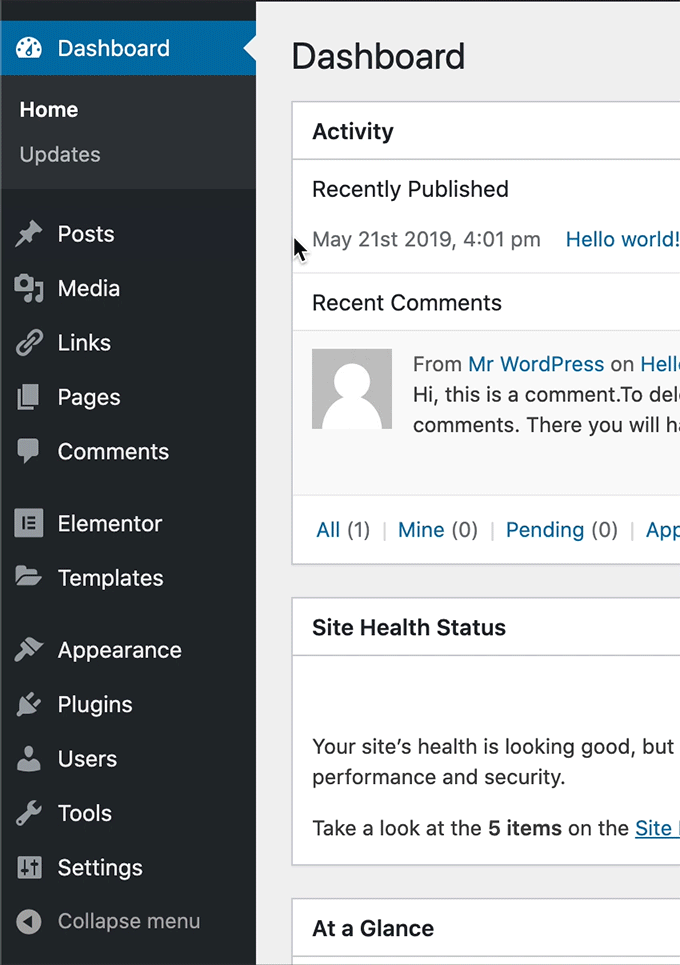
Now that you’ve installed WordPress, how do you edit your website? Upon first viewing your dashboard for WordPress, it can be overwhelming. Here is what a typically WordPress dashboard looks like:
Take note of the left sidebar. Each sidebar option has additional information if you either hover over it or select an option. This can be confusing at first, but my advice is if you don’t see an option to edit something, you probably need to hover over something first.
There are two main ways you can publish content for your website. This is done by publishing pages and/or posts. To create a page go to Pages -> Add New. For a new post go to Posts -> New Post. They are very similar, but they do have their differences. Check out this blog post to read all about it!
Themes
A major way you can control the look of your website is through themes. This can be found in your dashboard under Appearance -> Themes. WordPress has thousands to chose from, but this can be very over whelming. This blog post written on the Tech Bar website goes more in depth on how to pick and activate a theme.
Theme Customizer
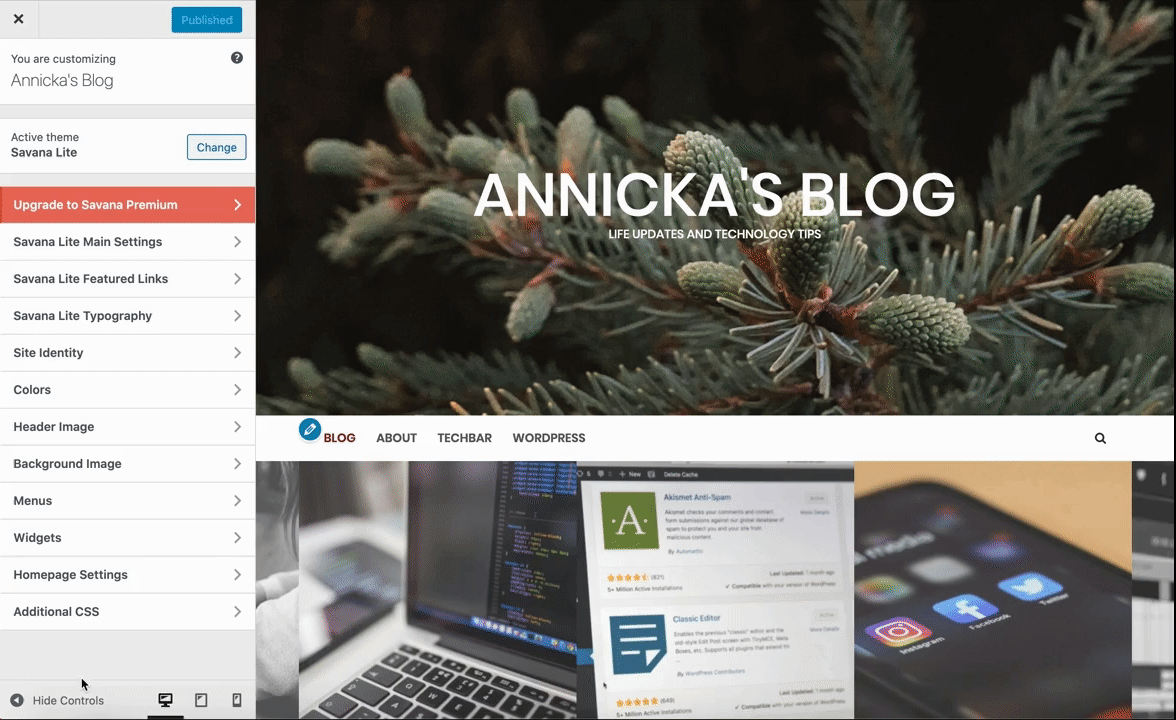
Once you’ve chosen a theme, you can use the WordPress theme customizer to edit different aspects of your theme. You can access this through Appearance -> Customize. This brings up the homepage of your site with the following side bar with various options to customize your site.
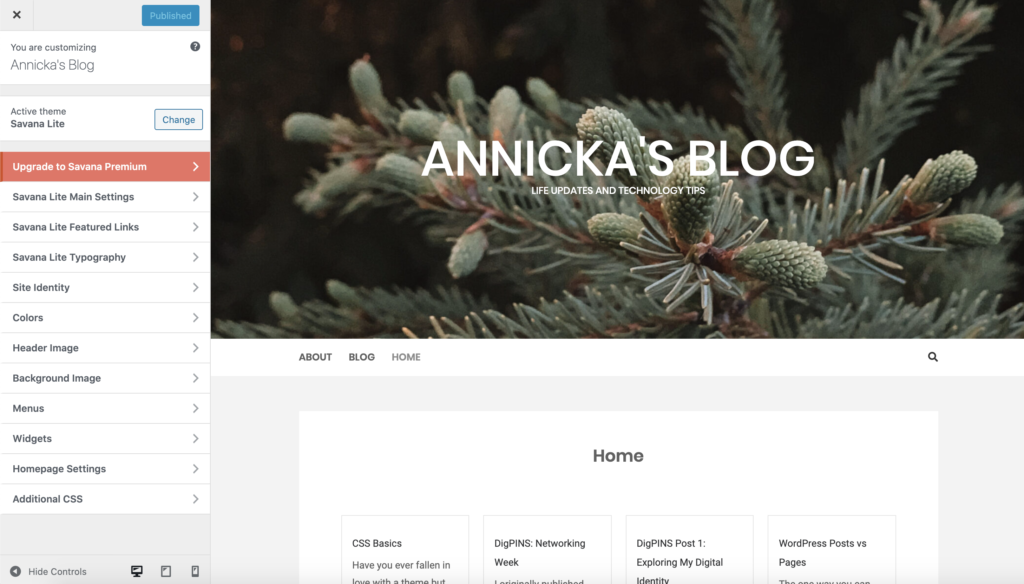
The options you get in the theme customizer depend on your theme, but you will most likely always have the following options:
- Site Identity
- Header Image
- Background Image
- Menus
- Widgets
- Homepage Settings
- Additional CSS
Notice in the lower left hand corner you can also change the view of your website so you can see what it will look like on a tablet of mobile device.
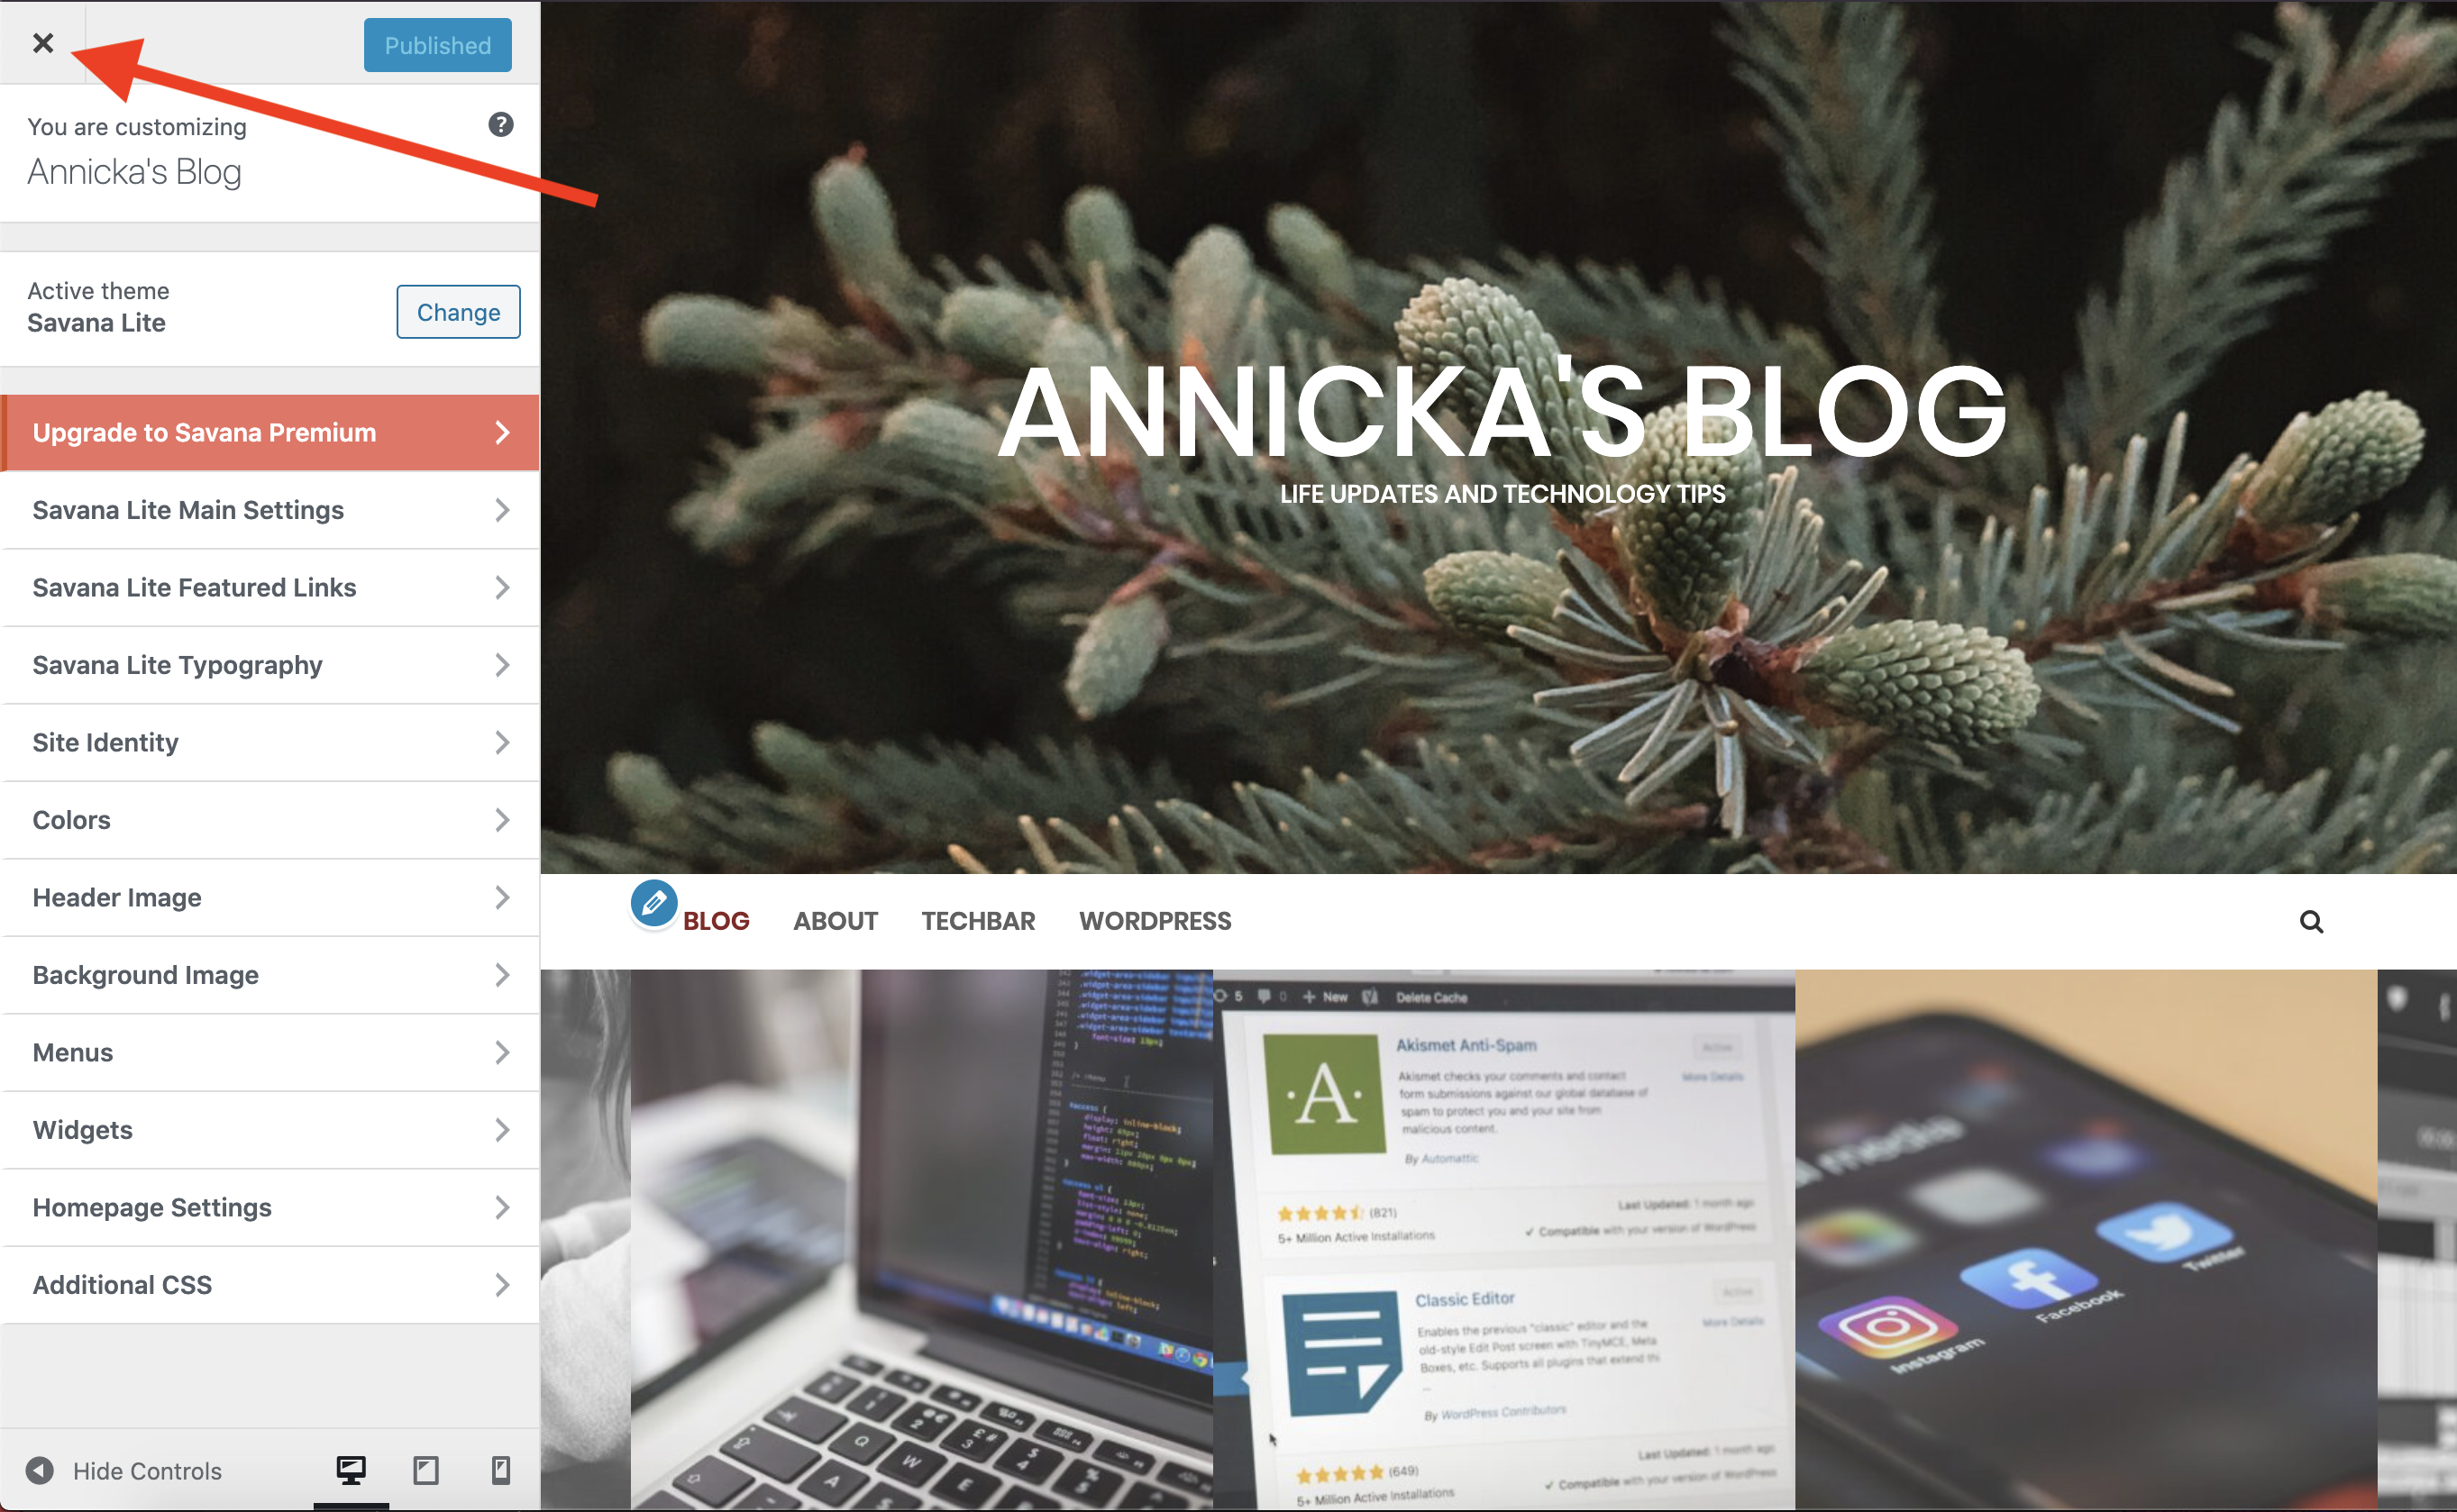
To exit out of the theme customizer, simply hit the ‘X‘ in the upper lefthand corner to return to your dashboard.
Menus
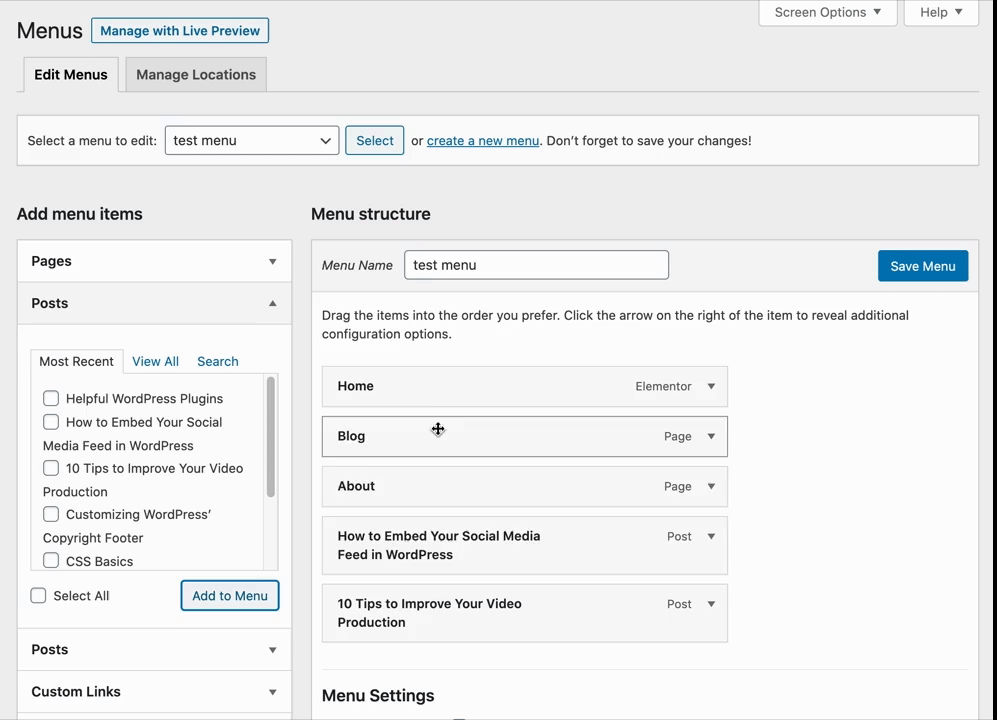
To create a menu for your website, hover over Appearance and click Menus. From here you can create a menu from posts, pages, categories, and custom links. You’ll need to name your menu before you can add any items. Check what items you’d like to add and click Add to Menu. Once items are added, you can drag them around to reposition. Dragging and dropping an item like this is how you make the item a drop down item.
Plugins
Another way to add features to your site by installing plugins. To see your installed plugins hover over Appearance and click Plugins. Your installed plugins will appear here. In the upper lefthand corner is an Add New button. You can click this to search for plugins and install them. Once they are installed, you can activate them on your site. There are many different plugins out there for various different uses. You can check out what plugins I’ve found helpful here.
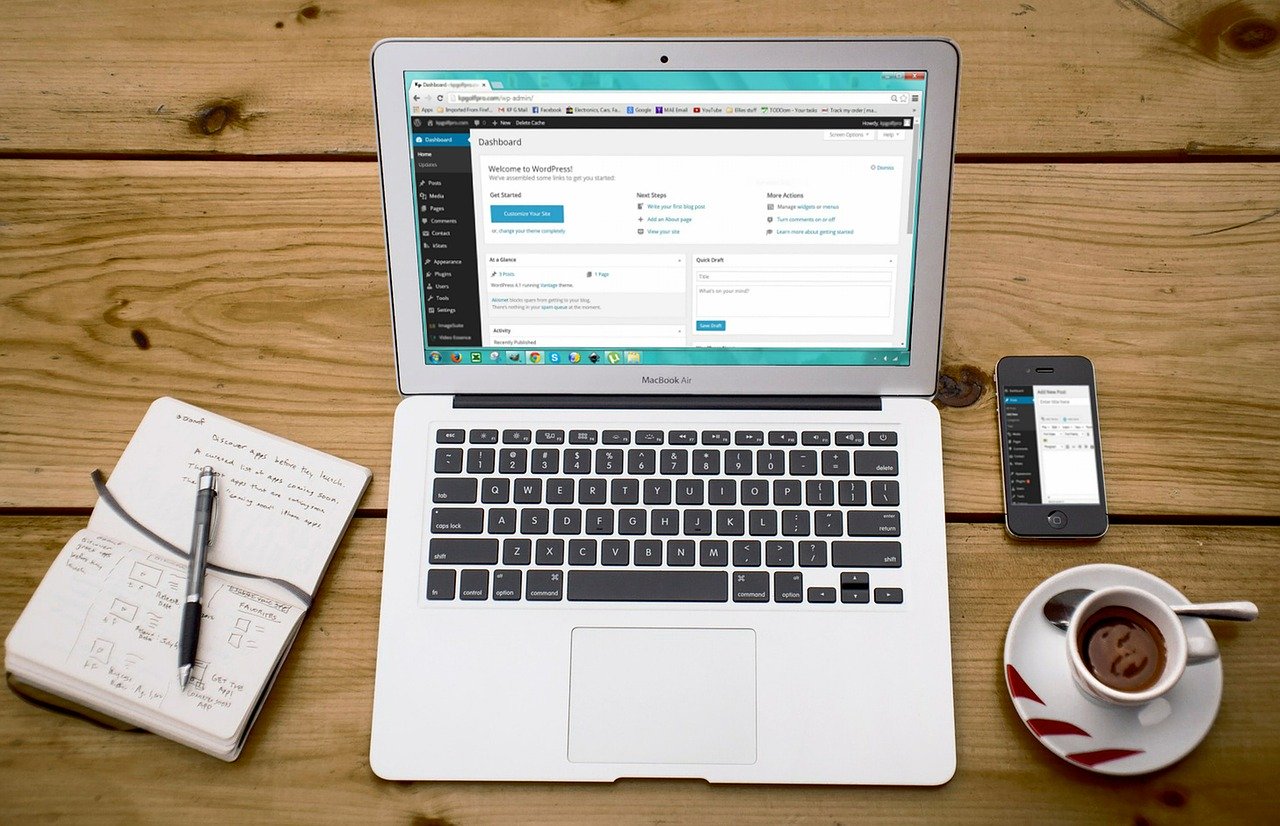
Header Image by Kevin Phillips from Pixabay